In the previous article, we talked about the basics of Instagram Ads and told you the most common formats.
Here’s where we show you how to use those ad formats to advertise on Instagram!
Let’s get started!
There are two easy ways of setting up your Instagram ads: the simplest one is promoting an existing post directly.
However, the second option is to create an Instagram ad using the Facebook Ads Manager, which offers a higher number of customization options.
Through the App
A business or creator account is required for this.
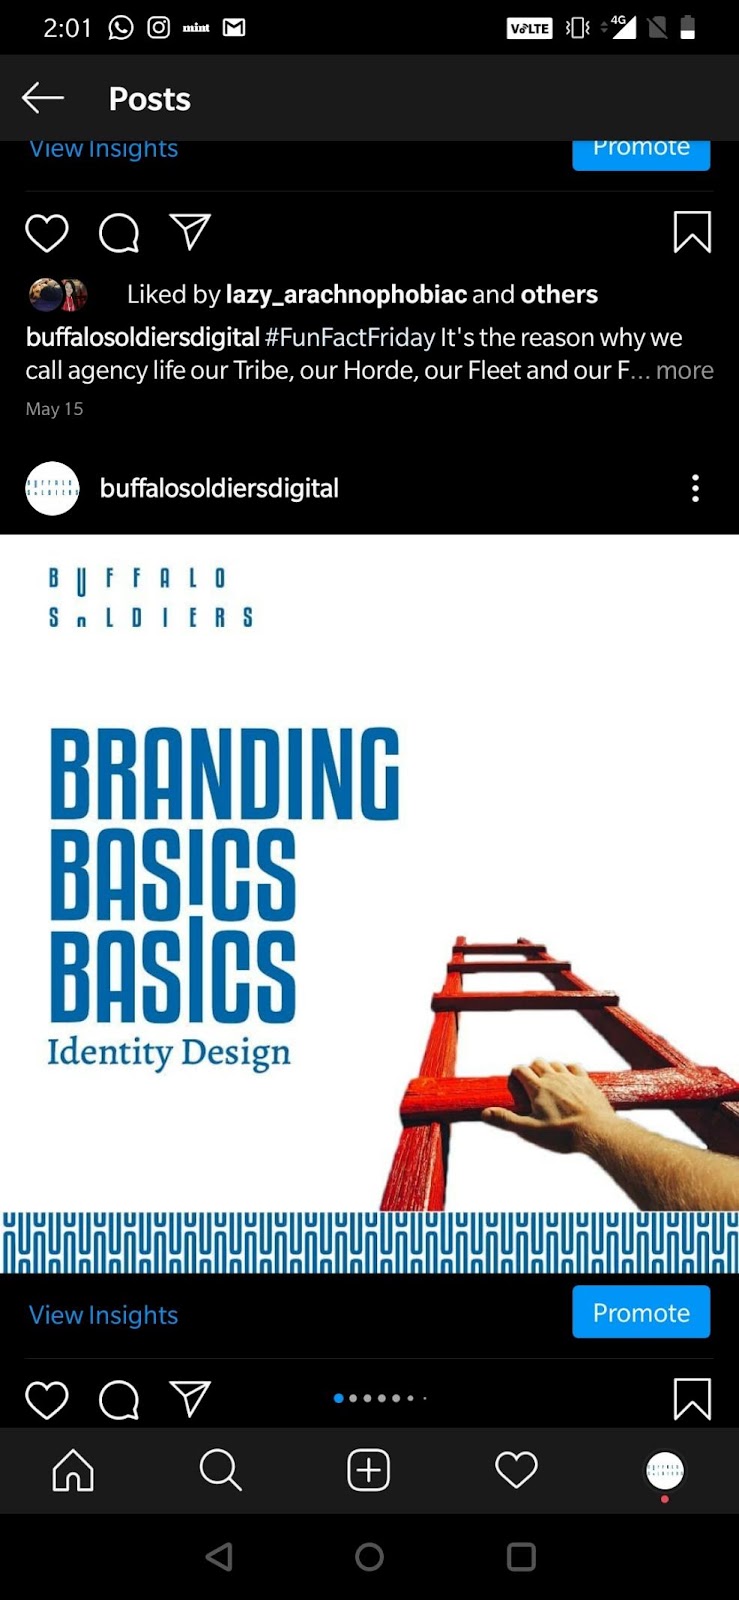
If you have a post that is performing better than the other posts, and is receiving a higher amount of engagement, you can boost it within the app.
All you have to do is navigate to the selected post, and click “promote” under the post.
Then, you complete the options to choose who will see your ad, where you want to send them, the ad spends, and the duration you want your ad to run.
Finally, tap on Create Promotion.
Through Facebook Ads Manager
The advertising tools for both Facebook and Instagram are beautifully integrated, since Facebook is the parent company.
Your Instagram account will have to be connected to your Facebook Account for this process.
You can follow these steps once that is done:
Step 1: Choose your objective
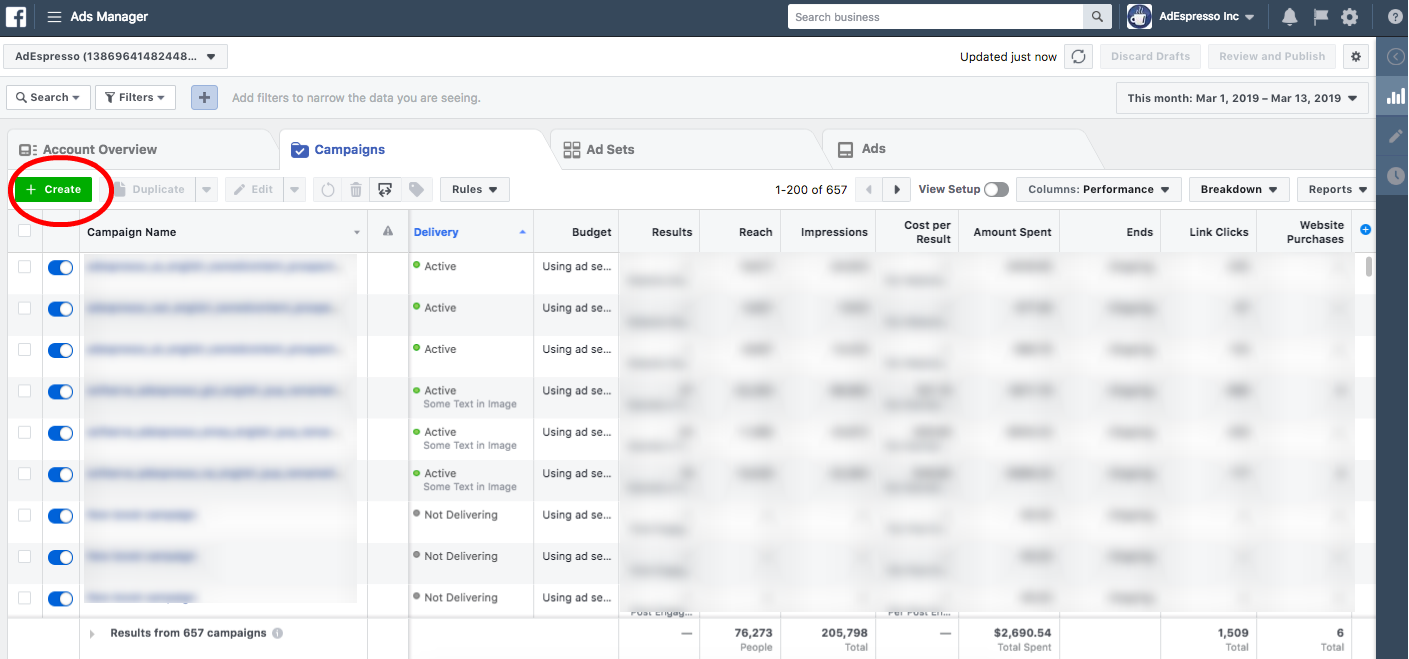
To start, go to Ads Manager and click +Create.
You can choose from two workflows to create and manage your Instagram Ad.
The default selection is the Guided Creation, which is a walk-through of the exact steps you can follow to create a typical Instagram Ad Campaign. This is a helpful feature for new marketers.
The Quick Creation feature gives you more control to craft your Instagram Ad. If you have experience with creating Facebook ads, you can click on the Switch to Quick Creation button to use this workflow.
However, let’s stick to the Guided Creation workflow for now.
Firstly, you will need to select your ad campaign objective. The Ads Manager offers a list of objectives to choose from.
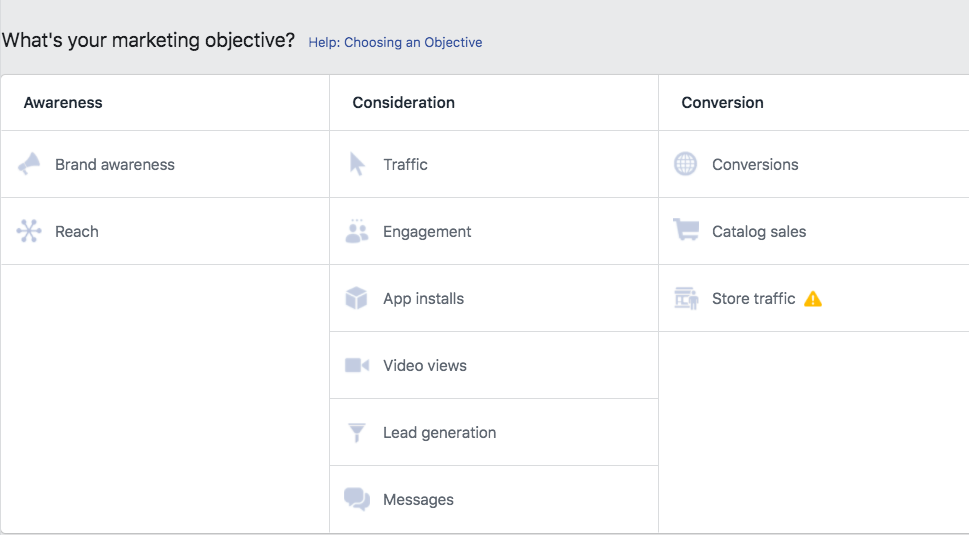
Once you select an objective, you will be prompted to give a name to your campaign.
The default name would be the objective you have chosen (for example, “Traffic”), but you can give it a more specific name to keep a track of all your campaigns.

Step 2: Identifying Your Audience
You have to decide who you wish to target with the ad campaign.
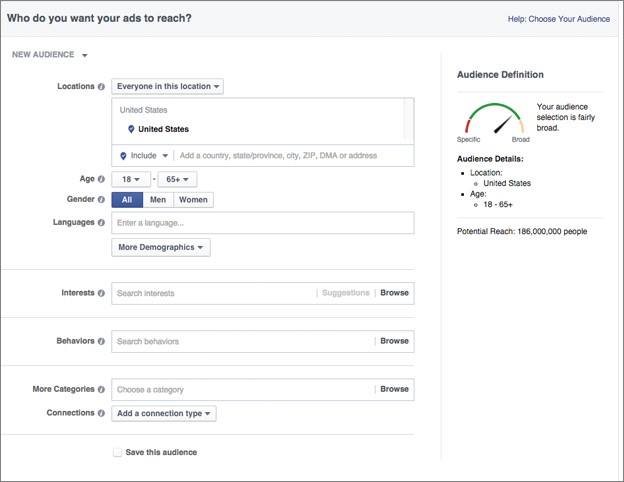
You have a diverse range of options to help you choose, that are not restricted to basic demographic information like gender, age, locations. This can help you craft your ad copy better, and create a message that applies exclusively and uniquely to your target customer.
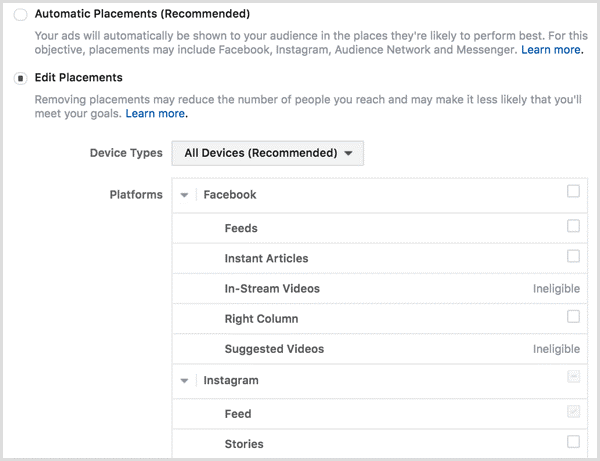
Step 3: Selection of Ad Placements
In the placements section, you can choose where your ads will show up on Instagram and Facebook.
The two options are:
- Automatic Placements – The ad will be shown to the audience wherever the ad is likely to perform best.
- Manual Placements – You can choose where the ad will appear. You could limit it to Instagram Stories, or the user feed.
The window where you can choose your placement looks like this:
Once you have selected your objective, your audience and the placement, the next step is to decide on a budget.
Step 4: Choose your Ad Spends & Schedule
In this section, you choose how much you want to spend on the campaign – and for how long.
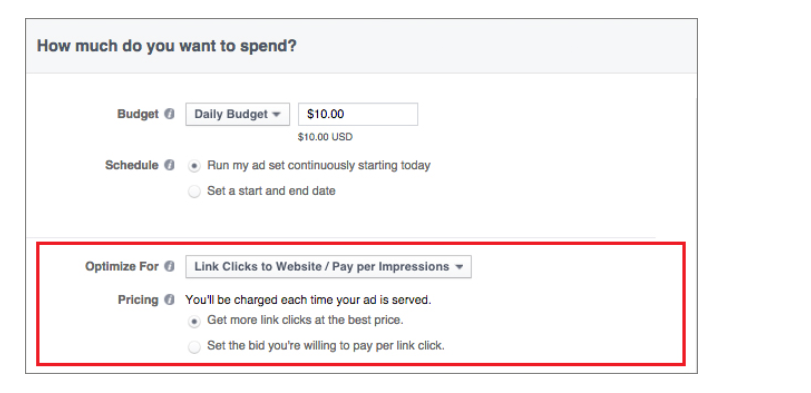
You can select a daily budget, which would offer you maximum daily spend, or a lifetime budget for an ad with a set duration.
You can also choose to run ads at select times of a day, or you can run them continuously.
Ads Manager also includes optimization and bid strategy options, which give you clarity about how your budget will be spent. These could be customizable, depending on what the goal of your campaign is.
As you adjust these options, the Estimated Daily Reach scale in the right-hand column will let you know how many people you can expect to reach every day with your ad.
Step 5: Create the Ad!
Finally, time to create the actual ad.
You can choose the format you would like to use:
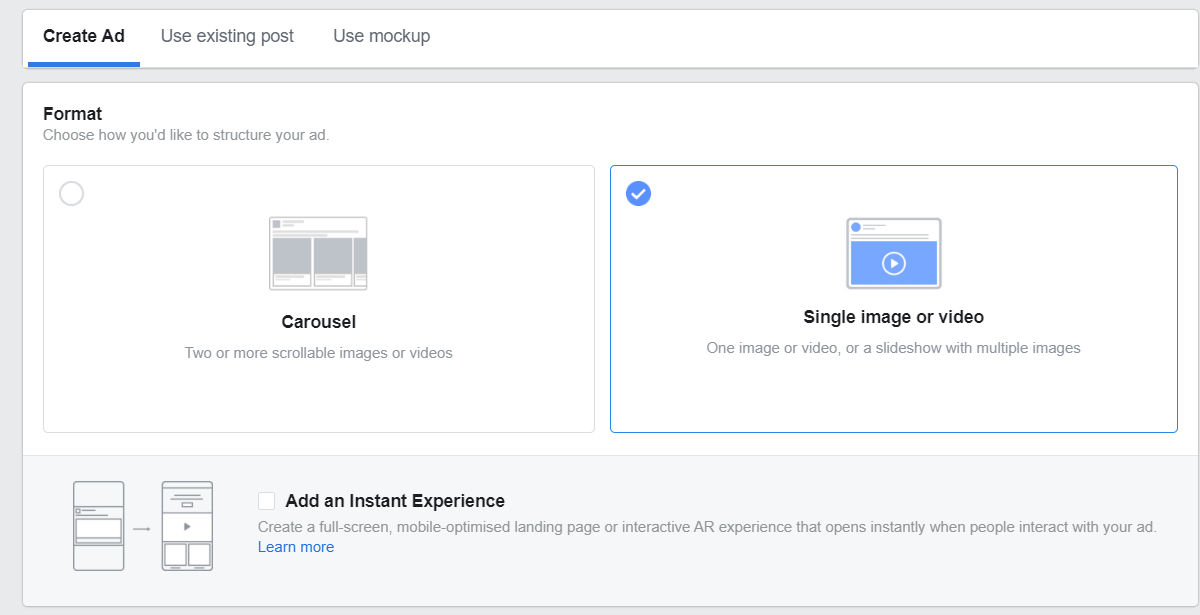
The next steps are easy:
- Choose pictures or videos for the ad
- Craft the ad copy
- Select a payment option
- Review your ad
- Click Confirm
As you select your images or videos, The Ads Manager will display the technical format requirements.
You can also choose the call-to-action button and the destination URL that you want people to reach when they click on it.
To track the conversions through a Facebook Pixel on the website, scroll down. You will get information about how the audience is interacting with your brand after clicking on the ad.
Click on “Confirm”, and, hurray! You’ve just created your first Instagram Ad.
Be sure to engage with your audience on your organic posts, and keep tracking and measuring the performance of your Instagram ad, and keep testing other areas to optimize your engagement.
All the best, fellow marketer!